Wednesday, 14 August 2013

A Ladies Guide...What To Bring To A Festival

It's festival season! Woo! Packing for a festival, especially if you're a newbie, can be a bit of a nightmare. I've been to a few in the UK over the last 10 years and decided to compile a list of things you'll need to know and bring with you.


Things to remember

  • Pack as light as possible- I've included a list of optional items that are good to have- but it is often a long walk from the entrance into the camp grounds- usually at least 30-45 mins, so be prepared to carry whatever you bring.  
  • British weather is unpredictable, it could quite easily be boiling hot, rainy and cold all in 24 hours- so you need to pack for every outcome- layers, layers, layers. In the summer it will probably be warm in the day, but it will nearly always be cold at night.
  • Most festivals do not allow supermarket trolleys to be taken in for carrying- but you can bring suitcases with wheels or granny shoppers- these can be great in terms of not having to carry all the heavy stuff, but be aware if it’s been raining recently, the tires will get stuck in the mud and/or break, and any suitcase you bring, be prepared for it to get wrecked.
  • Don’t take your regular  purse with all your cards in it- only take your ticket, cash (including coins for the lockers) a debit card for back up and your ID, everything else can stay at home.
  • Do buy a programme when you get there- normally about a tenner maximum and they have all the band times and stages, and they usually have a handy pocket version with a lanyard too.


What To Pack


Personal Items (essential)

  • Purse, house keys, ticket.
  • Phone- If you can, bring an old phone with a long battery life- not your brand new iPhone.
  • A water bottle- refill it at the water points and carry it around at all times.
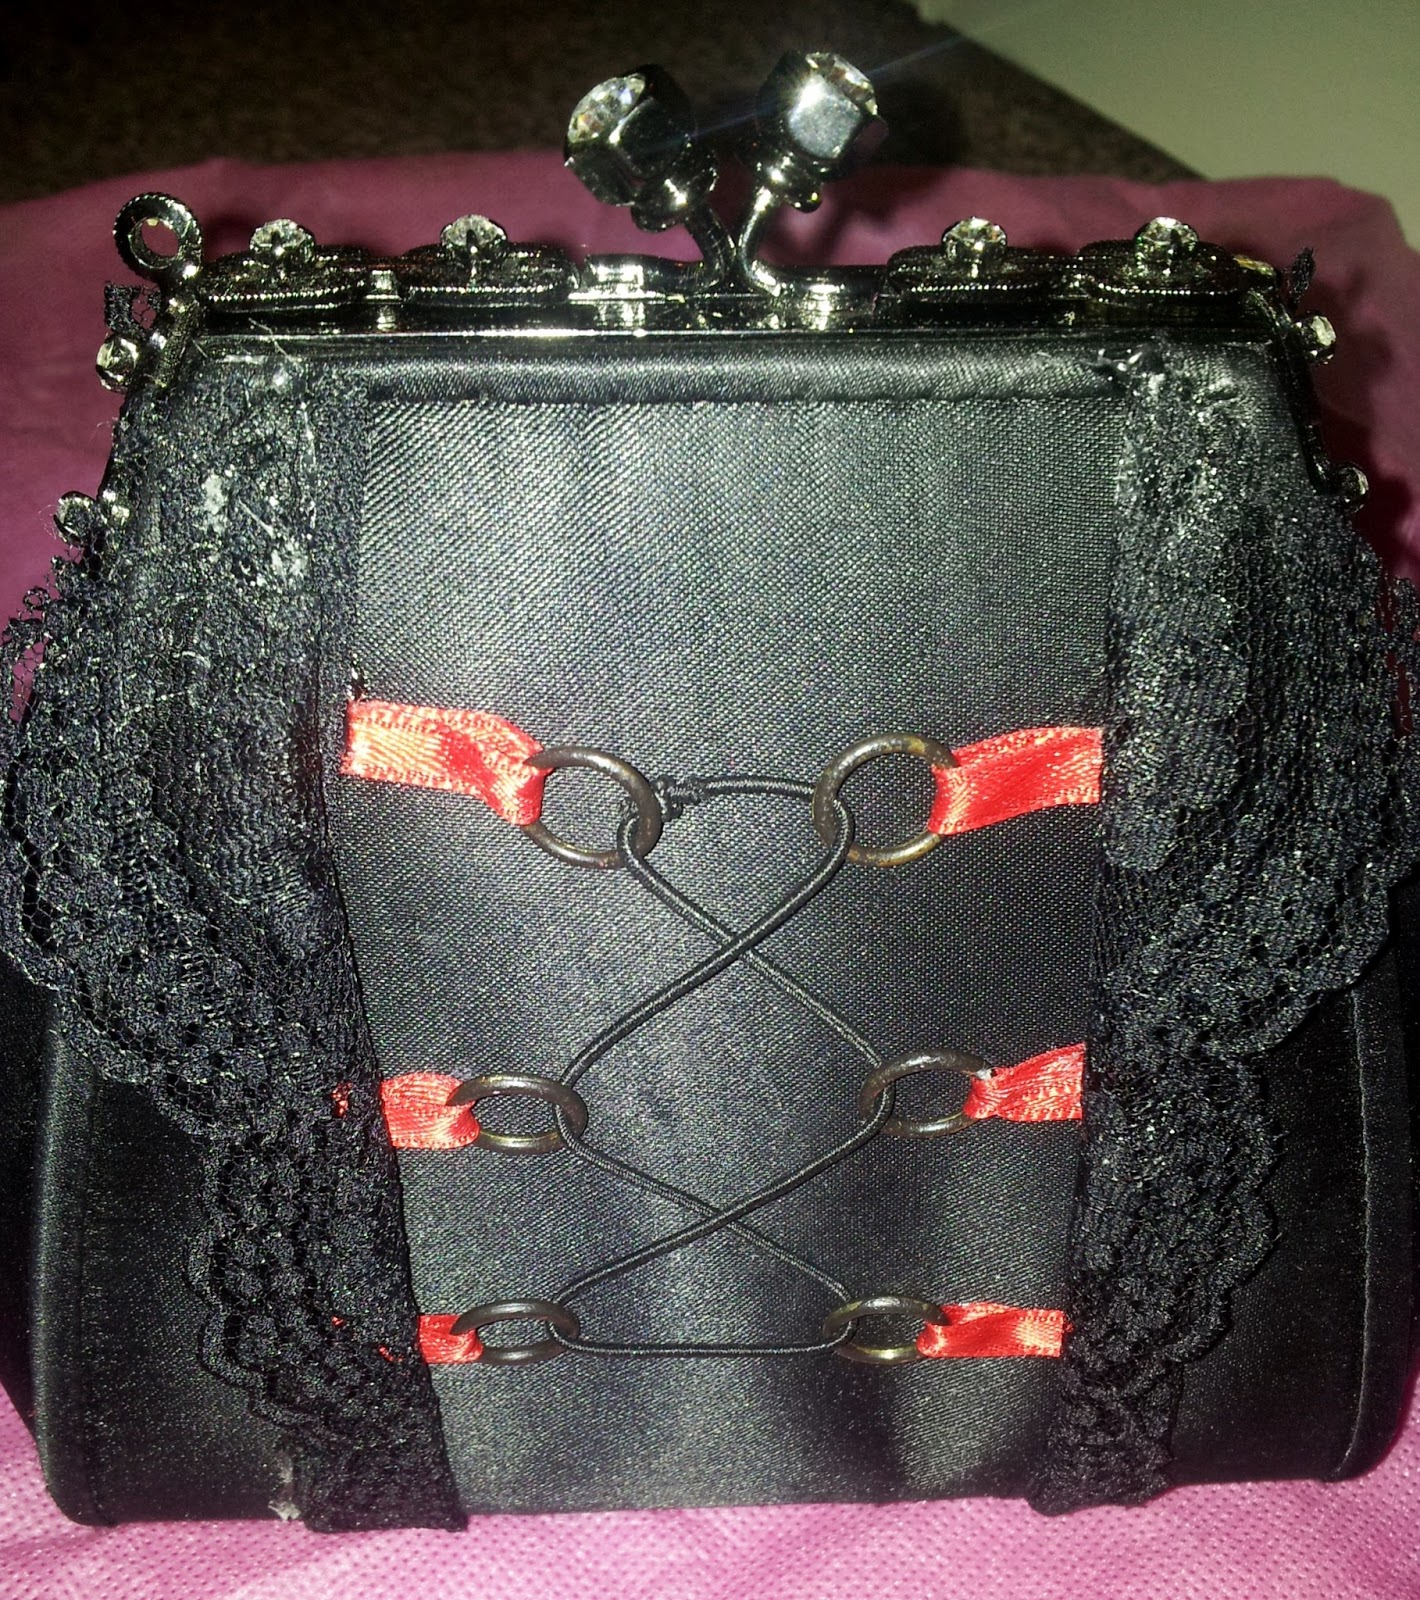
  • A little handbag- with an over the shoulder strap (for tissues, hand santizer, etc)


Personal Items (optional)
  • Portable phone charger- good idea if you plan on using your phone for pictures or meeting up with other people regularly- most festivals have charging points for your phone but there’s often a queue. I’d try to just bring an old phone.
  • Camera- the plus is you get to capture all the fun you’re having, the negative is that you’re carrying around something relatively expensive all day. You could try a disposable camera if you don’t mind them being a bit "hit and miss" when you go to print them.

Camping (essential)

  • Tent- A pop-up if possible, as their light and easy to assemble. Check before you leave that it has all the bits you need: lines, poles, groundsheet, and pegs. It’s also worth checking if you know how to put it up!
  • Sleeping Bag- Invest in a good one if possible, A hooded one with padding is ideal because it is going to be cold, and the ground will be hard!
  • Heat reflective sheet- You can get these on eBay- I’ve put this on the essential list as it can be such a lifesaver in extreme weather- most people use them for keeping the sun off their cars in the summer, but I figured a few years ago you could use them to keep the heat off the tent when the sun comes up in the morning- cos it gets damn hot in there! It’s worked a treat for regulating the heat in the tent and now it’s one of my camping essentials.

  • Duct tape- (silver heavy duty) having a roll of this is all kinds of useful- rips in the tent in particular.
  • Wind up torch- you will need a torch- the camp grounds at festivals very rarely have lighting except near the pathways.
  • Bin bags- for campsite rubbish, and also to put muddy, used or wet clothing/wellies.

Camping (Optional)

  • A pillow- nice to have for sleeping, but bulky- you can always use an item of clothing rolled up.
  • Sleeping mat- can be a bit of a lifesaver to sleep on if you are camping for several nights, but its bulky and not essential if you don’t have one.
  • Food- If you’re on a budget, then cooking your own food is definitely an option, though be prepared to spend a lot of time cooking, and you’ll also need to carry disposable cutlery and bowls, tin foil, and a pot for cooking. Tip: a bag of apples make great portable snacks.
  • Swiss army knife- not essential, but really useful to have. This year Victorinox (makers of the Swiss Army Knife) have released a 2013 Classic Limited Edition collection of funky, girly ones that have a blade, nail file/cleaner, scissors and tweezers.

  • A balloon or flag- to mark out the tent- your tent will be one of many many tents, at night it can be pretty tricky to find yours unless you mark it out somehow.


Clothes (essential)

I would advise arriving in the wellies, layers and having your coat on you.
  • Wellies
  • Trainers or boots
  • A coat- It will be cold at night.
  • Waterproof poncho- the ones that pack away into a little shoulder bag are good, you can use them as a little bag for your bits also.

  • Sunglasses
  • Woolly hat (night-time)
  • Sun hat/cap
  • Lots of socks- at least 1 pair for each day. At least 1 pair of thick socks for sleeping, and a pair of long knee high socks is also handy. Thick tights can be handy at night under your jeans too.
  • Underwear-(obvs) at least enough each day your there- ladies, just bring one super comfortable bra.
  • At least 1 thick comfy jumper.
  • A pair of shorts
  • A pair of jeans
  • Tracksuit bottoms/comfy trousers
  • A sun dress/comfy beach type dress - for if it gets super hot.
  • A bunch of tops/t-shirts/vests
  • Mini umbrella- good for if it rains or to keep the heat off if it’s too sunny- be warned though, you should only use them walking around- in the crowd at the actual gigs, you’re gonna annoy people if your blocking their view and poking peoples in the eyeballs.

Toiletries (essential)

  • Anti-bacterial hand gel- you’ll be sitting on the floor a lot and using the communal toilets- always have this stuff on you.
  • Tissues - Lots, loo roll runs out fast.
  • Wet wipes- You’re gonna feel a bit grimy all weekend, but wet wipes help.
  • Talc- A little bottle of talc is a life saver if you’re feeling grimy- use on all the “nooks and crannies” and you’ll feel dryer and fresher instantly- trust me.
  • Deodorant
  • Ear plugs-most camp sites are quite rowdy throughout the night, if you want to get any sleep I’d recommend ear plugs.
  • Sunscreen- even if it’s not really sunny, pop a bit on everyday as you’ll be outside most of the time.
  • A towel- even if you don’t brave the shower, you can even use it as a pillow.
  • Toothbrush/toothpaste
  • Hay fever medication- particularly if your allergic to grass- your gonna be in a field all day.
  • Bug repellent- at night by the fire, there will be bugs, bugs that bite. Either cover up or put bug spray on!
  • Pain killers- ibuprofen is a good all-rounder- for hangovers, headaches, back aches (from sleeping on the ground) etc.
  • Plasters- Blisters, minor injuries.

  • Throat/Cold medicine- Even if you’re not a smoker, people will be smoking around you. You’ll also probably be shouting/screaming a lot at the gigs! It’s pretty easy to pick up a “festival cold” as you’ll be outside in the elements all the time.
  • Condoms/Contraception pill- obvious reasons

Toiletries (Optional)

  • Shower gel/shampoo/conditioner- if you’re not planning on having a shower (which is completely acceptable as most of the time they showers are cold and grotty) you could wash your hair at the cold water tap in the morning- which is actually quite amazing on a hot smelly festival morning.
  • Dry Shampoo- Batiste does a good one.
  • Razor- Ladies, your legs are gonna get hairy after a few days- but no one cares.


What NOT To Bring

  • Perfume/make up- Whats the point?

  • Flip flops- Its muddy, smelly and there will be litter everywhere- don’t expose your feet to this.
  • Dungarees/onesies- This is a logistical peeing issue- Just not going to work with the outdoor loos.
  • Pyjamas- It’s gonna be too cold at night for pyjamas, just sleep in comfy clothes like leggings, track suit bottoms and jumpers.
  • A mallet or Hammer- These are heavy! And a pain in the butt to carry- use a sturdy shoe to hammer in the tent pegs.
  • A padlock for your tent- I would advise never keeping anything valuable in the tent, there are lockers for this sort of thing- also bear in mind that having a lock on your tent screams “I have something worth nicking in here”.
  • Gas cylinders- DANGER DANGER! Use portable barbeques or cook on the camp fire the old fashioned way- they’re really just accidents waiting to happen.

Friday, 9 August 2013

Ch-ch-Changes!


Hello readers,

As you may have noticed, I have been less than attentive with keeping up my blog this year. It is utterly shameful. I’m a terrible, terrible person and I apologise profusely.


There is reasoning… in that I have simply not been crafting that much this year, I’ve been taking a little time off as this year has been complicated and busy.
 

As a result, I’ve been thinking it would be really fun to expand Hayley’s Craft Blog, to just Hayley’s Blog- where I can encompass and blab about all my interests- not just crafts. I write a few articles for Cut Out + Keep, and also really enjoy making lists and how to guides on various things, so those things will be included here from now on. Other things may be (but not limited to) Steampunk/Victorian literature, cheesy YA books, Cats, Cartoons, Action movies and maybe the odd meme or video. So yes, In summary, Apologies for being rubbish, more general musings to follow...

Hayley x 

Sunday, 2 June 2013

Oh Hai!

Hey Folks, 

I've been taking a break from blogging for a little while, as I've been super busy- partly with life stuff and partly taking on a load of new craft projects for friends and family- which has been great fun. I've reached a bit of a lull now so I thought that rather than do tons of catch up posts- I'd be lazy and just do a round-up of some of my favourite things I've been crafting the last couple months...

Kawaii-Decoden Matchbox
I've recently become slightly obsessed with this type of Kawaii decoration after seeing it on Etsy- so I had a little newbie go myself with this decorated match box- I made it as a gift box for some decorated hairclips I made for a fellow crafter friend called Sandy. 


Since making it, I went on a bit of a craft buying binge on Sophie and Toffee and Ebay - so expect a post soon where I inevitably decorate everything I can find with cabochons. 

Sherlock Holmes Pillow

Wot! Wot! I made this from an old pinstripe mans shirt. The silhouette I used a stencil and some very sharp scissors!  


Was pretty easy to do and it went to a fellow crafter and Sherlock Holmes fan Lisa- though I kinda wanted to keep it!

Nappy Cake- Neutral Colors
Back in Feb I made a nappy cake for my good friend El who was expecting a baby boy- off the back of that I was lucky enough to get another order- this one I made in neutral browns as the couple didn't know the baby's gender, and I sewed a little scruffy felt teddy head to go on the front...that actually turned out quite creepy.


I'm hoping to do another one this summer also for my step mum's friend- I hope I get to do a pink one next!

Ryan Gosling Tote Bag 
My best friend Emma loves Ryan Gosling (well who doesn't?) so I made her this Ryan Gosling "hey girl" tote bag for her birthday.


I found a really good tote bag tutorial here at Stitched Up

Prince Gumball Tote Bag
Okay, so the pictures didn't come out great- because of my clever decision to photograph this stripey tote bag on top of my similarly striped duvet (doh!).


Its Prince Gumball from that crazy Adventure Time episode "Fionna and Cake"- came out really cute- which is good because Prince Gumball took FOREVER to cut out and put together. 

Gothic Collar 
I made this as part of a Gothic themed swap for a lady called Victoria Gray- how cool is that name!?


I made it by taking a men's white collar (my boyfriend gets donated a lot of shirts for work that he doesn't like which subsequently means I get a lot of spare fabric) and some black lace. I cut out the men's collar and sewed on the lace over the top. Used letter stamps to do the monogram on the inside, and replaced the button with a prettier one. 

Thaaaaats about it, I made some other bits and bobs:


And that's about it for what I've been up to so far. I've decided to stop doing swaps for a little while and attempt to make more things for myself and for occasions, I'll check in soon on how that goes.

In other news I've also become obsessed with Steampunk novels and items on Etsy- so I'll probably start looking into crafting something around that too. 

Oh and the blog reached well over 2000 views last month- Yay!

Ta Ta for now
Hayley x x x

Wednesday, 20 February 2013

Baby Boy Nappy Cake!

Hi Folks,

I recently attended my first ever baby shower- and it wasn't half bad! Myself and a friend put ourselves forward to help the mum-to-be out and offered to do the decorations, my friend had balloons and banners and I made gift favors, a nappy cake, which was super fun and not as difficult as I thought. We decided the theme should be leopard print (as my friend is pregnant and fabulous) and blue for a boy. 

For the favors I ordered 50 leopard print paper bags from Ebay, and made some light blue labels and then filled them with a handful of blue sweets- blue bon bons, blue jelly bellys etc.


For the Nappy Cake, I used a pack of 45 size 2 newborn nappys and I got the leopard ribbon and blue organza from ebay. Tere are tons of tutorials online for Nappy or "Diaper" cakes, but this is the one I thought was the best:

And here's how it came out- apologies for my cat photo bombing one of the pictures...


The mum-to-be seemed to really like it and it looked great as a center piece with all the other baby gifts surrounding it too. I cant wait to make another one!

Hayley xxx

Sunday, 10 February 2013

DIY Disney's "Sleeping Beauty" Notebook

Hey Folks,

So I made this a little while ago for a Disney fan, it was inspired by the story book at the beginning of Disney's "Sleeping Beauty"- here is the original:


This currently on display at "Treasures of the Walt Disney Archives" Exhibition at The Ronald Reagan Library, California.

And here's my version:
DIY Disney Notebook


Of course, my version is no where near as fancy as the original jewel encrusted masterpiece above! ^_^


Here's how I made my simpler version though:


You Will Need:
  • A New Hard Back Notebook 
  • Old Paintbrush 
  • PVA Glue 
  • Gold Paint (Metallic) 
  • Flat Back Little Gems 
  • Shoelaces, Thick String. 
  • Newspaper 
  • Deco Or Scotch Tape
  • Mod Podge (Optional) 


Step 1
Get your materials together and prepare your crafting area. You'll need to put down some newspaper as you'll be painting.

Step 2
Cover the inside cover and the page edges with newspaper and deco tape (or scotch tape)- to protect from the paint.


Step 3
Cut out strips of laces/thick string and stick them down on the notebook using the silicone glue- to form the letters "Sleeping Beauty". This will give a cool 3D embossed look to the letters. I cut the tips of the laces into points to make the lettering look better.

Step 4
Cover the letters with a layer of PVA glue using an old paintbrush- make sure you get in the cracks to help it stick to the book! Wait for the glue to dry- about 30 mins or until it turns completely clear.

(Tip: Not essential, but I added a layer of mod podge after this stage for good measure)


Step 5
Cover the whole cover of the book (back and front) in gold paint.You should add about 3 layers of paint to make it nice and shiny! If you want it to look a bit more of a bronze gold- mix a drop of brown paint to the gold.


Step 5
Then add your gems! Even though mine were sticky back, I used a dab of silicone glue to stick each one down. You can find the basic round gems in any good craft shop, but ebay has a great selection of rhinestones in different sizes and shapes also.


And you're done!

If you wanted to go all out (and you're a dab hand at painting or stenciling which unfortunately I am not), you could even try to recreate the inside first pages of the book as featured in the film:


Hope you liked the tutorial! It took a good couple hours, but I'm more or less pleased with it!


-Hayley S xxx


P.S- I will be doing my very first blog giveaway very soon! (How exciting), Once the blog hits 2000 views, I will be opening up a giveaway competition to members of Hayley's Craft Blog, so please- go forth and recommend the blog to anyone you think may like it, and keep watching this space for details coming soon!


Thursday, 31 January 2013

More Ghibli Stuff!

Hey Folks, 

 I'm way behind on my blogs! I've been really busy crafting so i'm going to attempt to play catch up here and post up my latest projects- Here's a bunch of Studio Ghibli stuff I made for a crafting buddy of mine late last year: 

 Jiji the Cat
This is a model of Jiji the cat from Kiki's Delivery Service! He's made from black polymer clay- oven baked and then painted.


Totoro Photo Album

This is based on the Totoro's from "My Neighbour Totoro"- I created the image by cutting out felt and using hot glue. 


Kiki's Delivery Service Mini Tote

This little felt bag is only about 12 inches tall- it's actually totally useless as a bag, but it looks cute so- yeah. It could be used for keeping small things in though- or it could be used by a cat...I digress. It's all handsewn as it was before I figured out how to thread and use my sewing machine!


I'll be posting up more projects so, and hopefully a little bit more regularly from now on. 

Ta ta for now, 
Hayley x